Tutorial written by RyanF. Mirrored here for archival purposes.
Making a tunnel
A simple guide on how to make a very simple tunnel entrance
(from the side). Much like the tunnel in Stanjel. 56K Beware!
Tutorial by RyanF
Here's what I did this morning. A few notes real quick. this is by no means supposed to be a replica from Stanjel. It's just a simple guide on how to make a very simple tunnel entrance
(from the side). Once you have the basics down you can make it as detailed and fancy as you want.
This also may not be the best or easient means to make a tunnel. I have worked hard at mapping but I am also learning just like allot of you guys. Feel free to add some tips or make corrections where you think I may have gone wrong.
Terrain meshes and Patch meshes do not always get along. The line created from vertex to vertex on a terrain is striaght. The line from vertex to vertex on a patch is curved. Even if you match vertexes between the two types of meshes, you can still have gaps along the edges. Snapping vertexes to the grid can help.
Once edited with the paint height tool, terrain meshes don't like to be rotated. You can rotate them to some degree, but you can't rotate them 90 degrees. Patch meshes can be rotated to any angle, even after height editing. One nice thing to know though is that terrain meshes can be flipped. You can alter the terrain using the paint height tool, then flip the mesh at 90 degree increments in the X, Y, or Z axis to best suit your needs. Flip is located under the selection menu at the top.
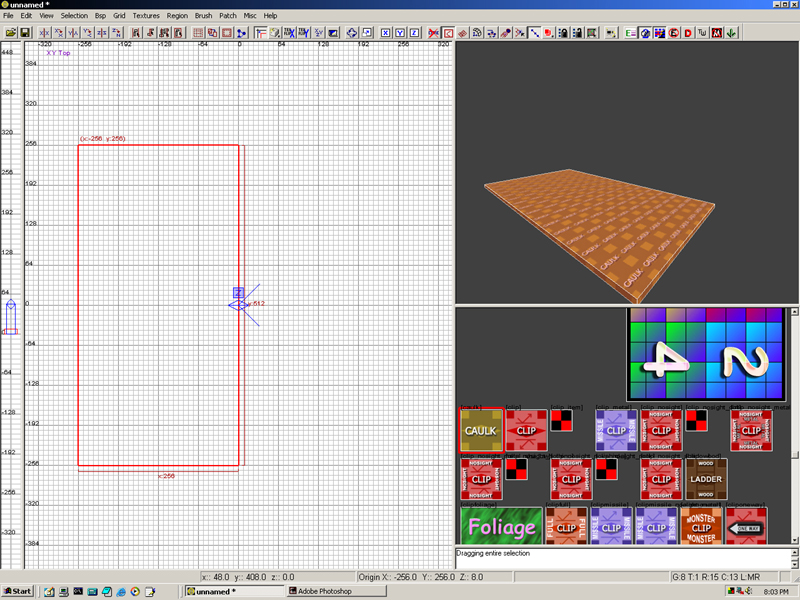
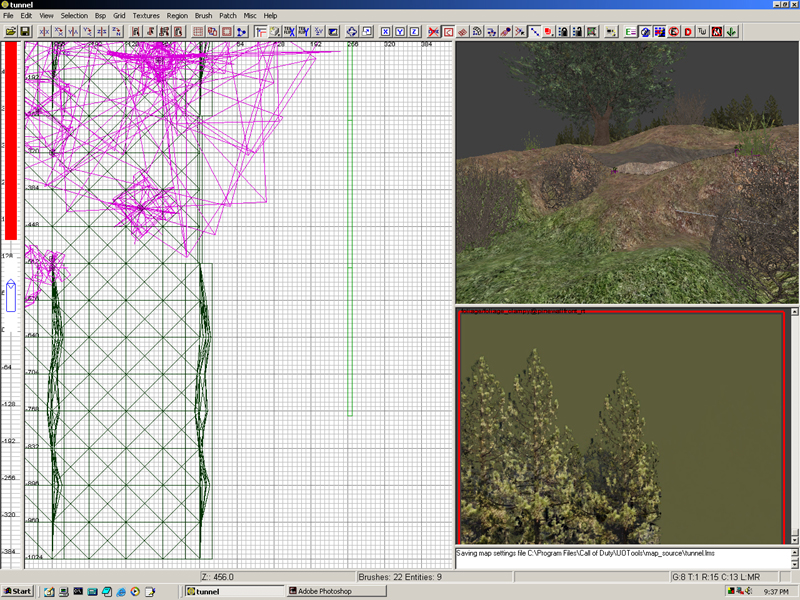
Open up Graydiant and draw out a brush. I drew out a 256X512 brush This will represent the length and width of the tunnel.
I try to generally draw my brushes to match up with the grid lines in the background. I also try to work in the powers of two if I can.
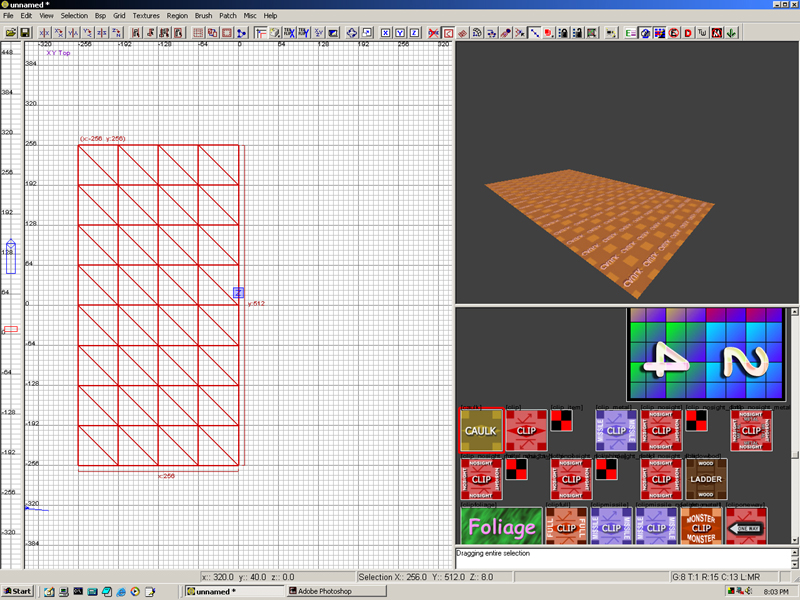
Next I convert this into a terrain mesh. In this case I made it a 5X9 mesh to match up with the background grid.
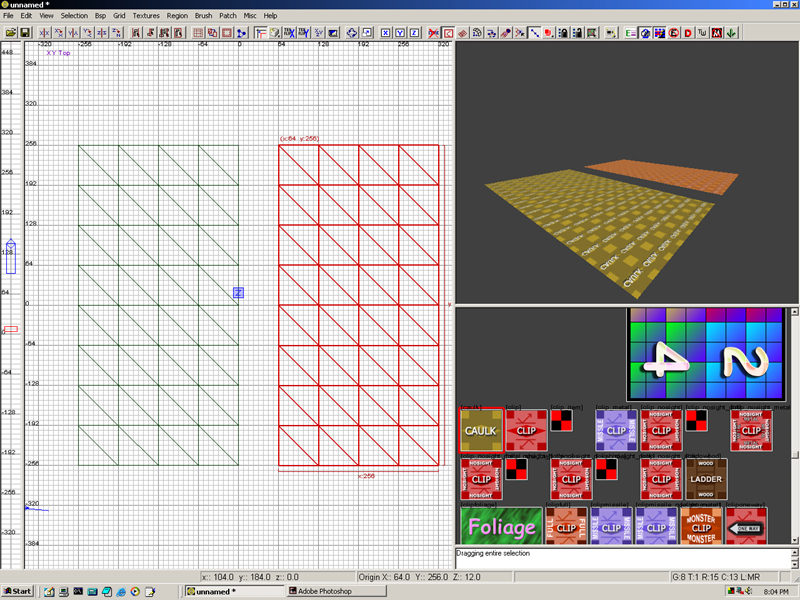
Next I copy this mesh and place it aside. This will be our roof to the tunnel.
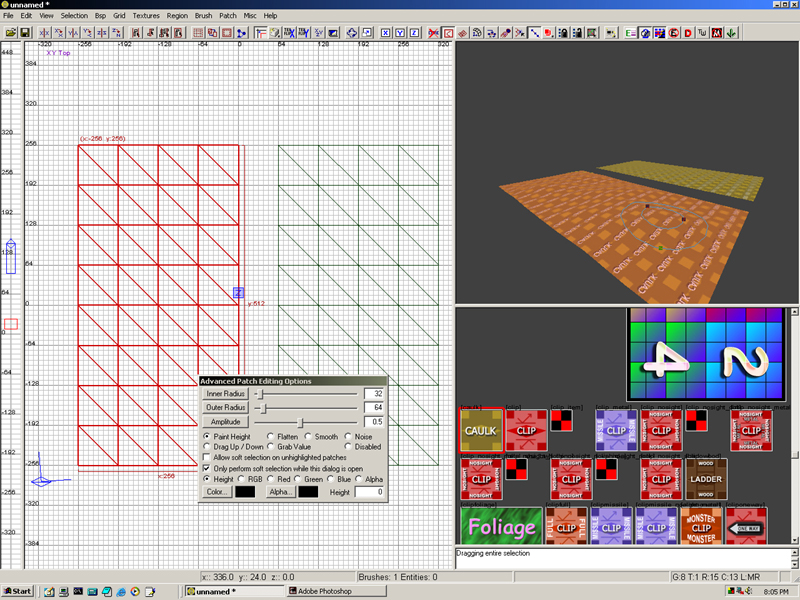
Next, let's add a few bumps with the paint height tool. You can skip this step and do it laterif you'd like. But I'm going to continue from here.
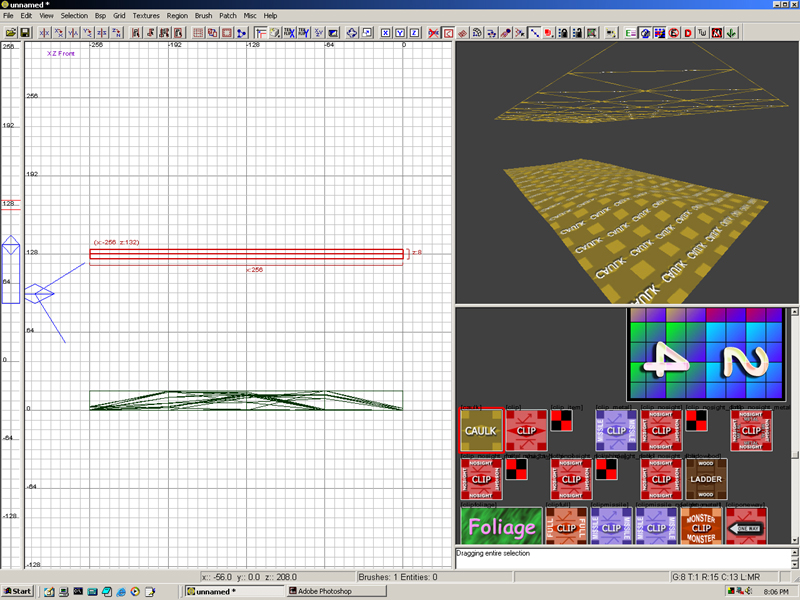
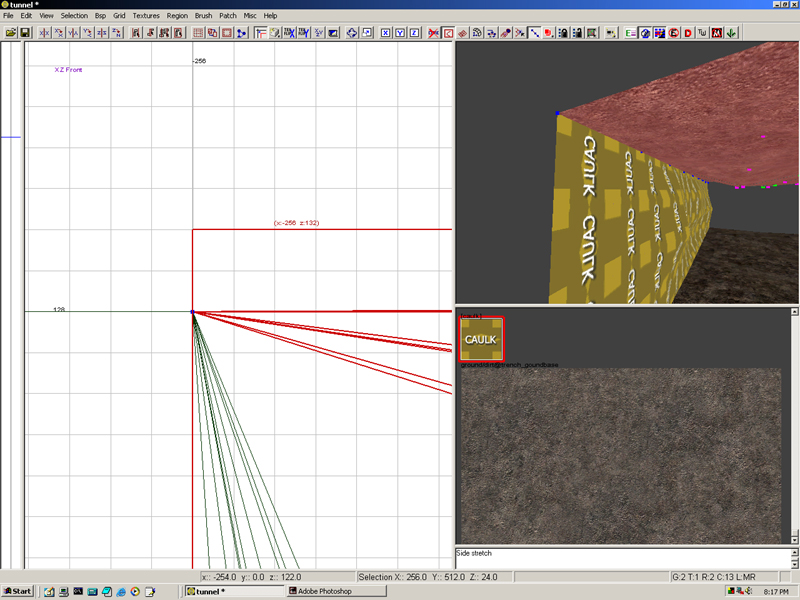
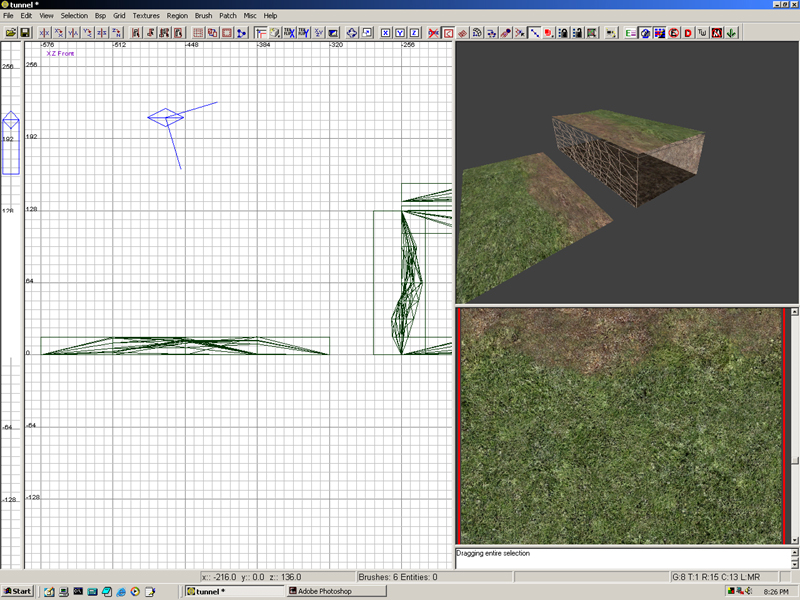
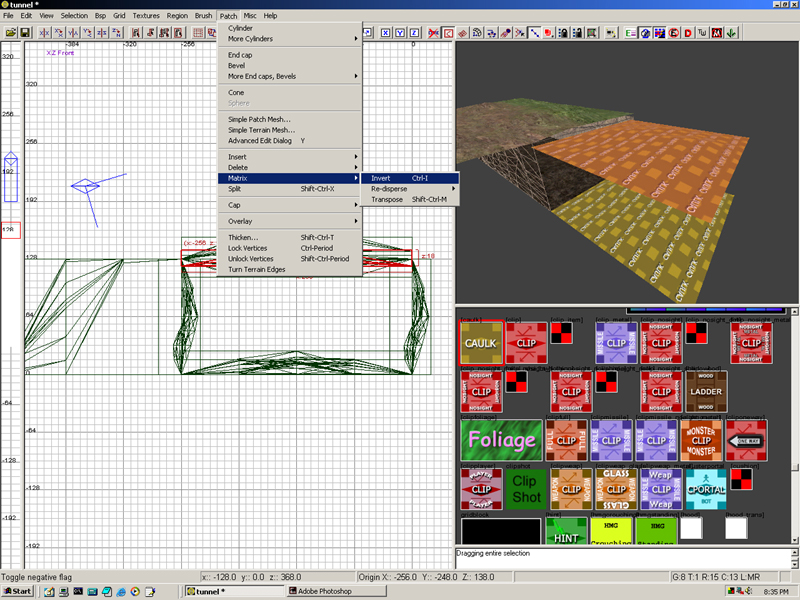
After I'm satisfied with the floor, I select the roof section and move it into place above the floor.
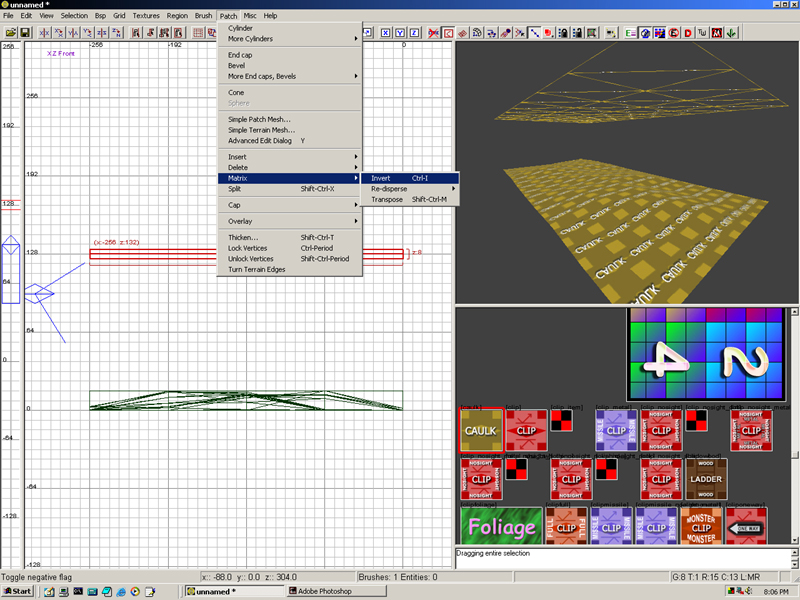
With the roof sections still selected, I invert the faces. Patch-> Matrix-> Invert. This is a very important step and we will use this a few times.
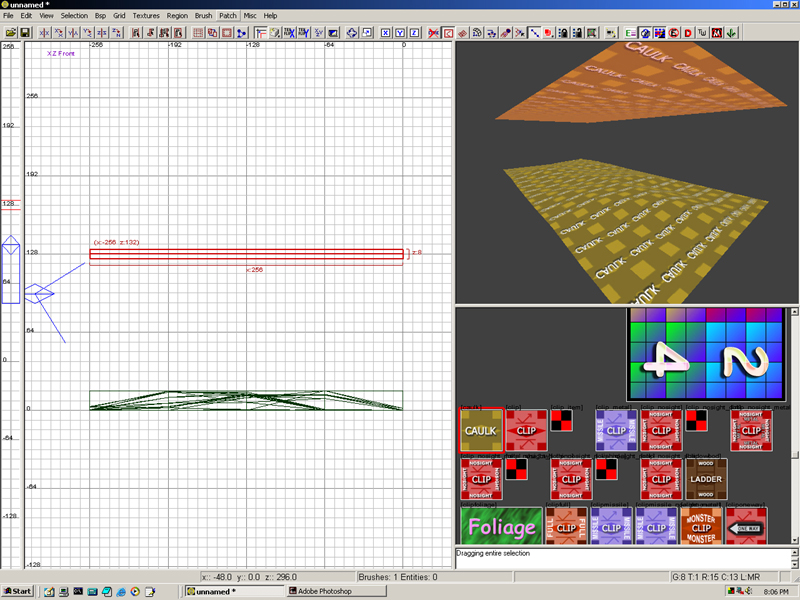
Here's what it should look like with the faces inverted.
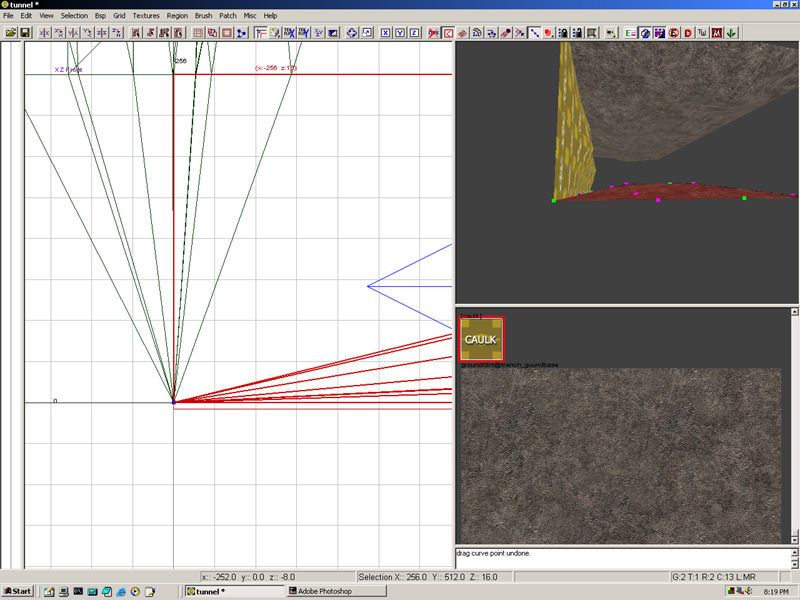
Now I open the paint height tool again and add a few bumps here and there in the ceiling. You can do this before or after you invert the faces, it doen't really matter.

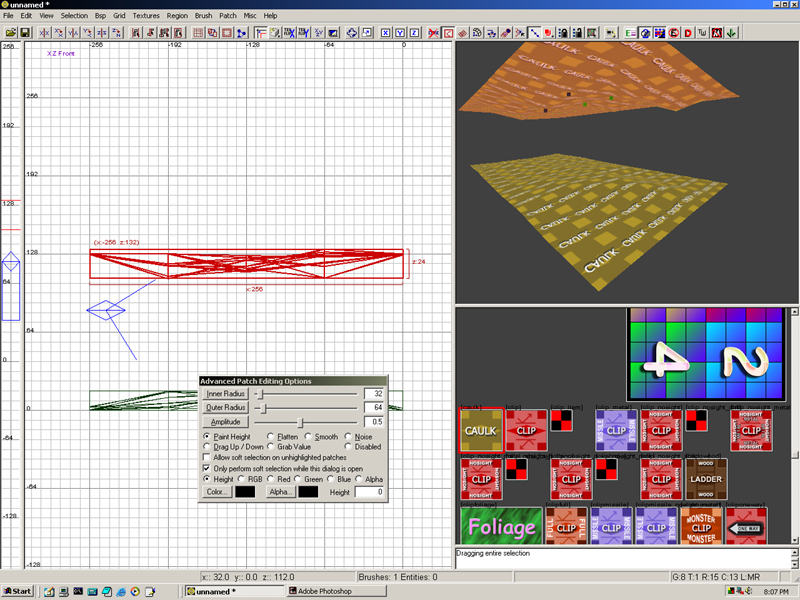
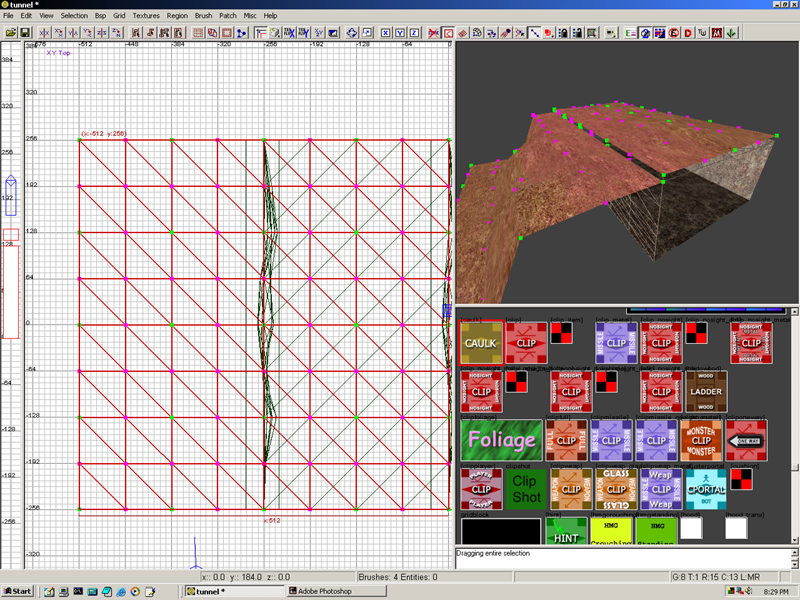
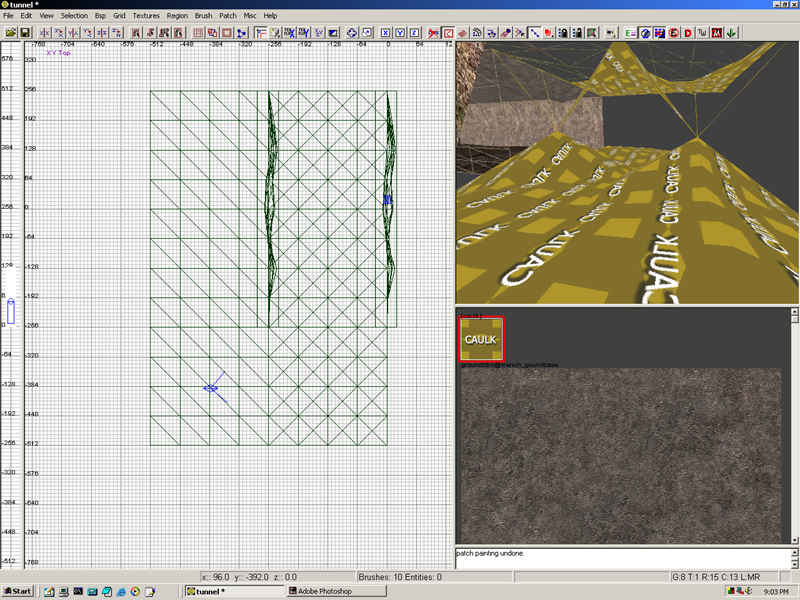
Next I have created a second brush. I have converted this to a patch mesh andas you can see I have opened the paint height tool and added a few bumps. This will be the walls to the tunnel.
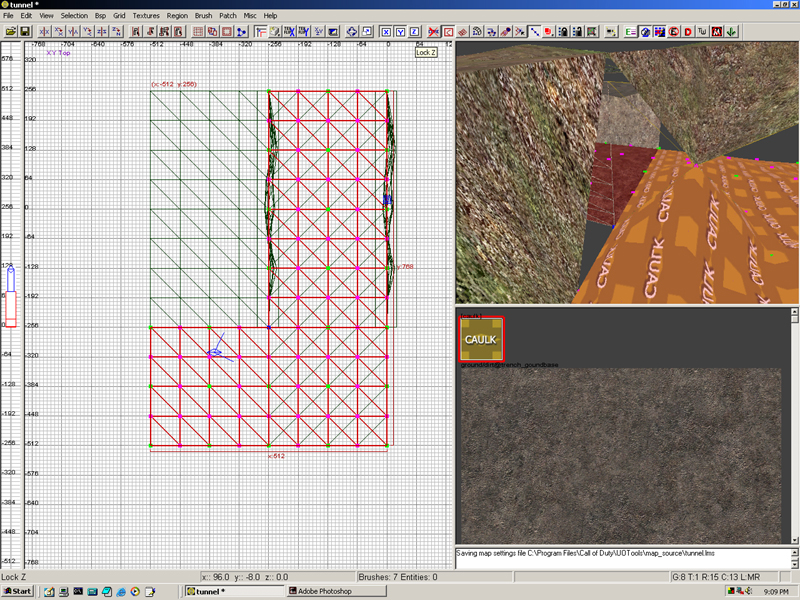
Rotate the patch nintey degrees and move it into position.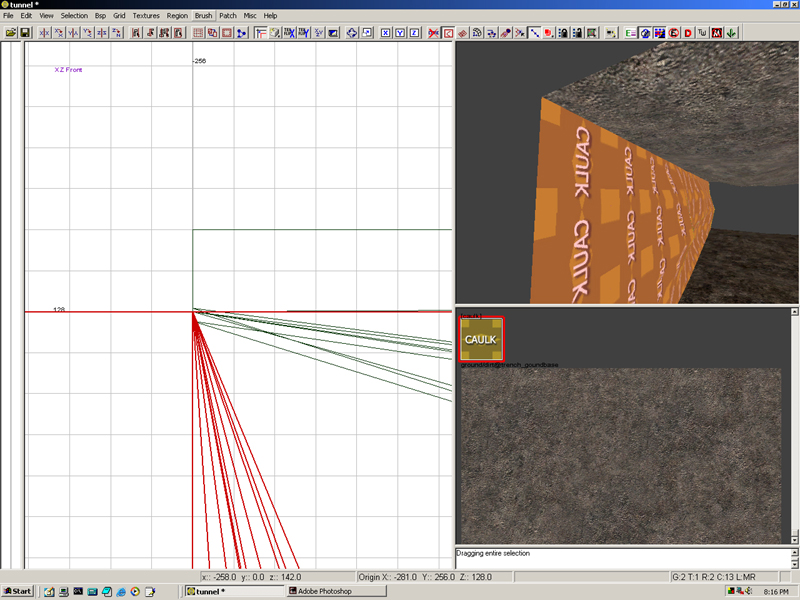
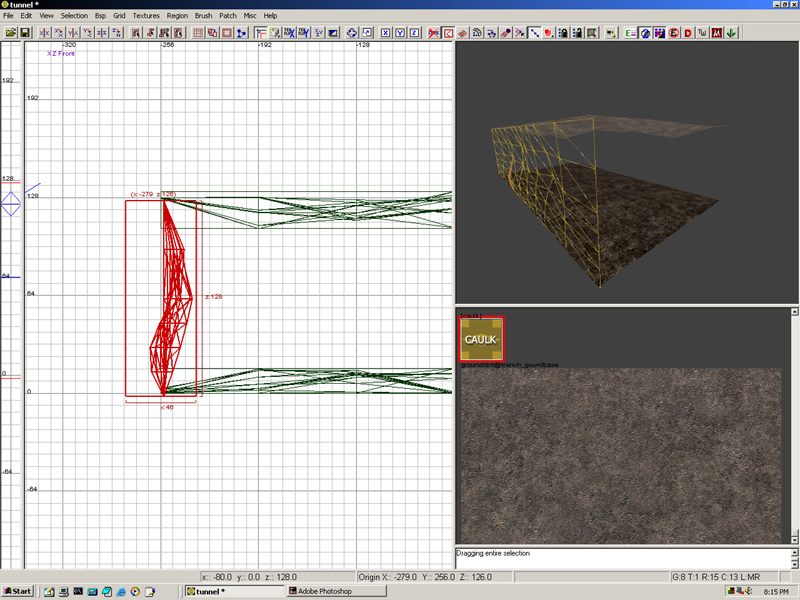
If you zoom in, you can see our vertices won't all match up. This is because when we added the paint height, it distorted the patch.
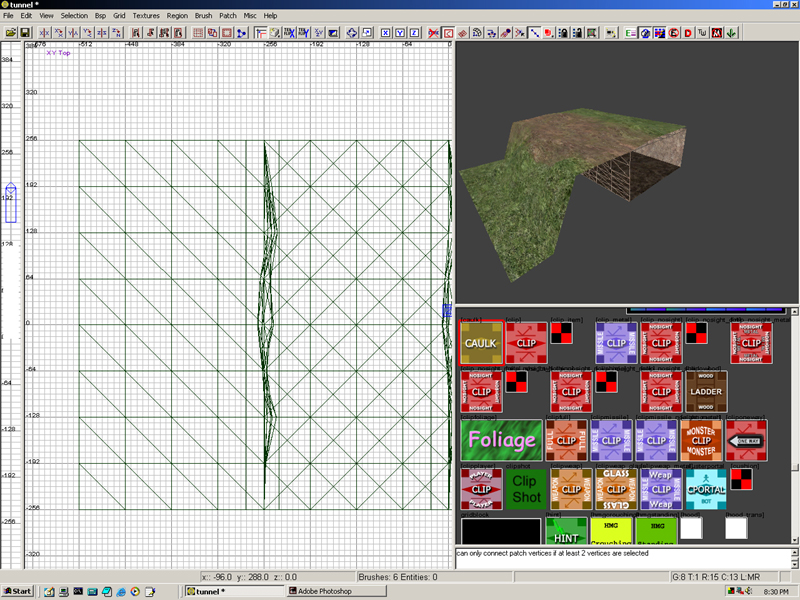
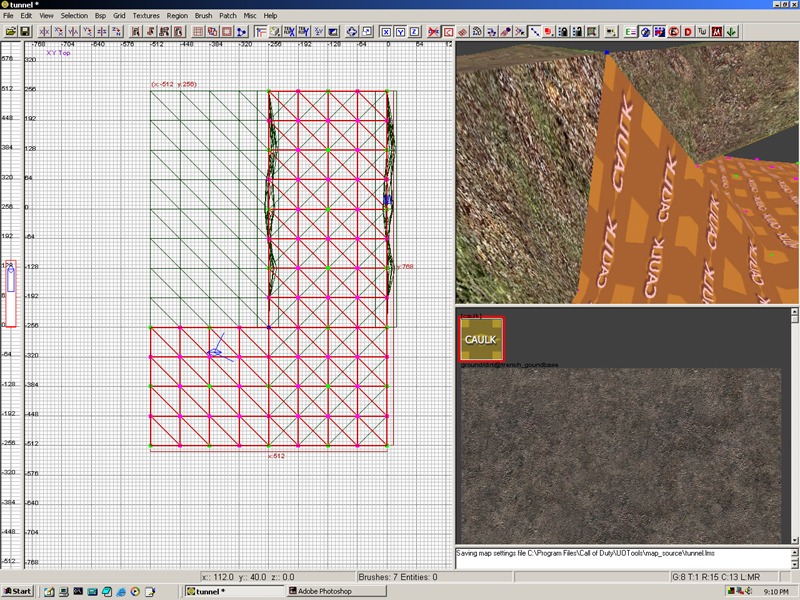
It's an easy fix though. Turn on your vertex selection mode and highlight the vertices along the edge. Hit CTRL plus G to snap the vertices to the grid. You may have to tweak them a little depending on how much height you painted onto the patch. It's good to try and match vertices up. Intersecting patches CAN be a problem. A good mapper tries not to do this. Sometimes it happens though.
When you're done the vertices should be aligned creating a nice even line between the two patches.
Don't forget to do the same where the floor meets the wall.
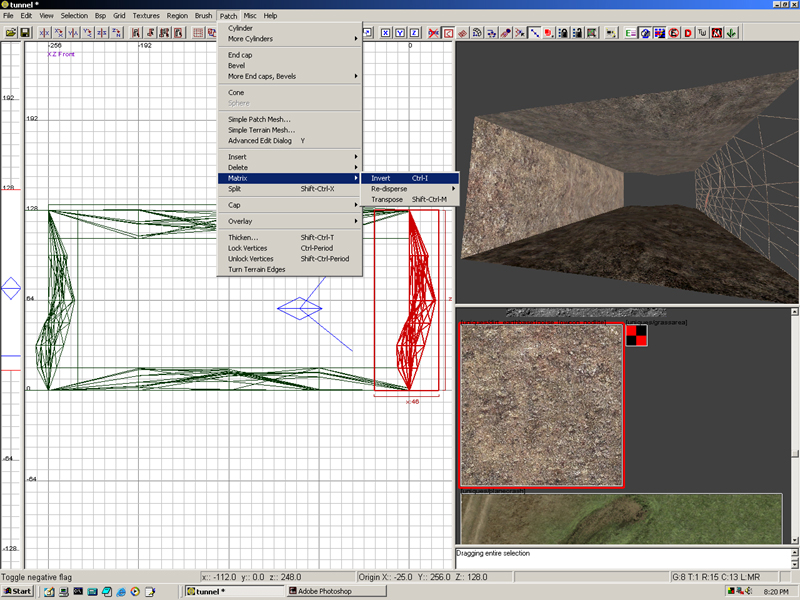
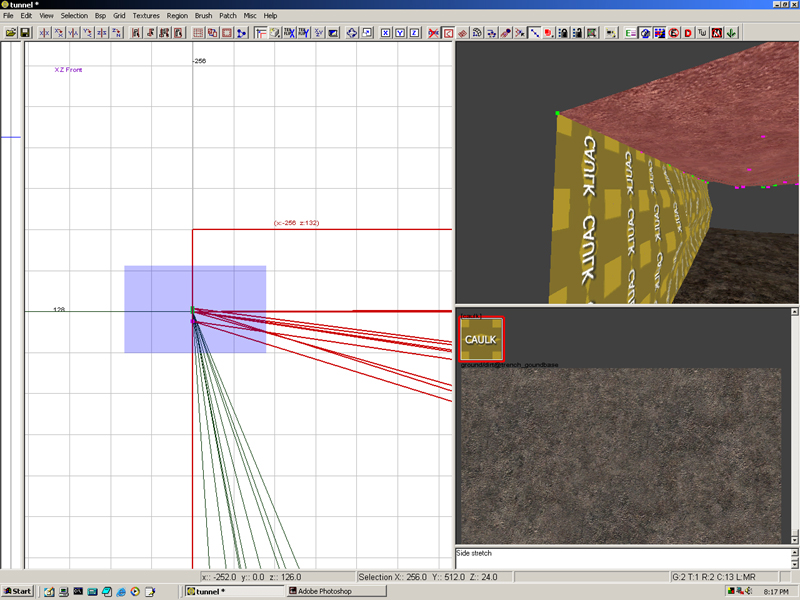
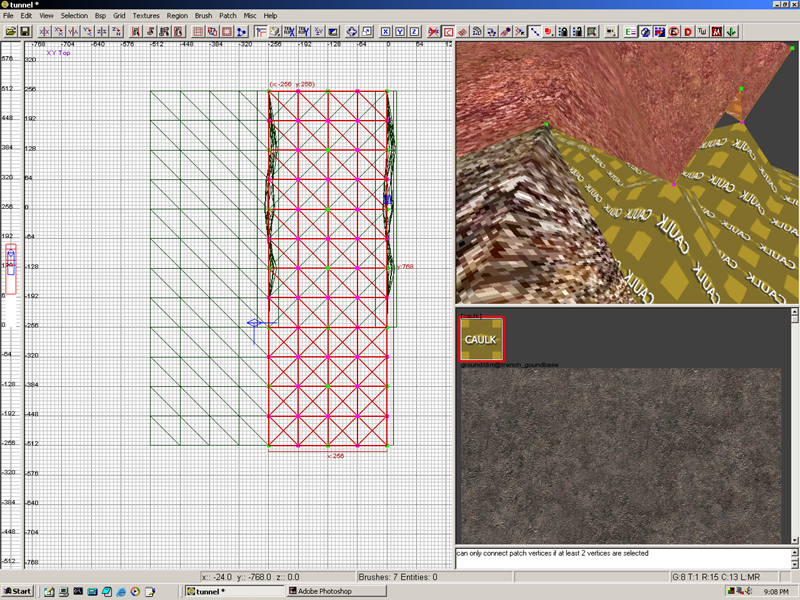
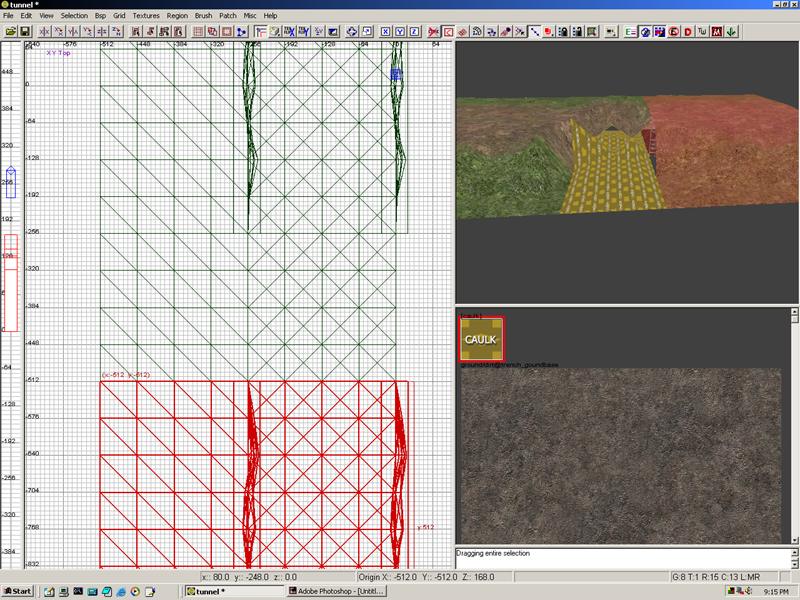
Here I have copied the wall, moved it to the opposite side of the tunnel, and inverted the faces.
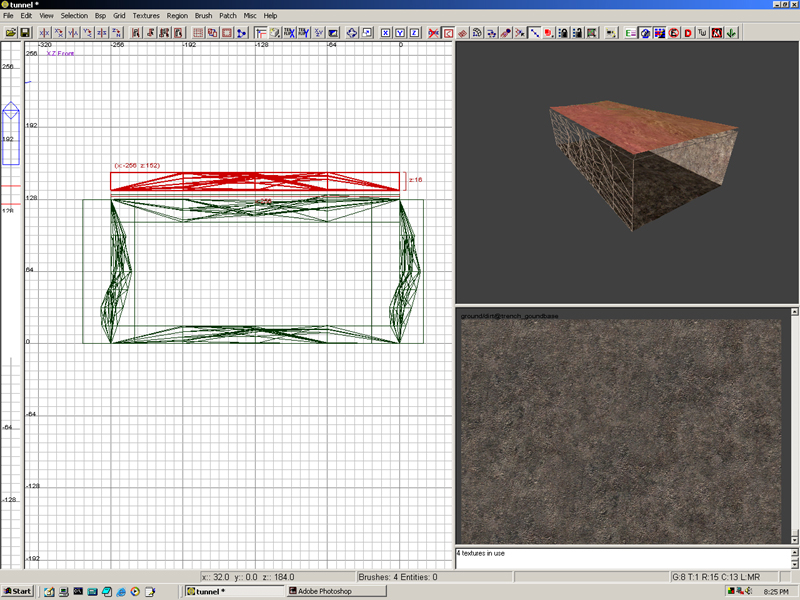
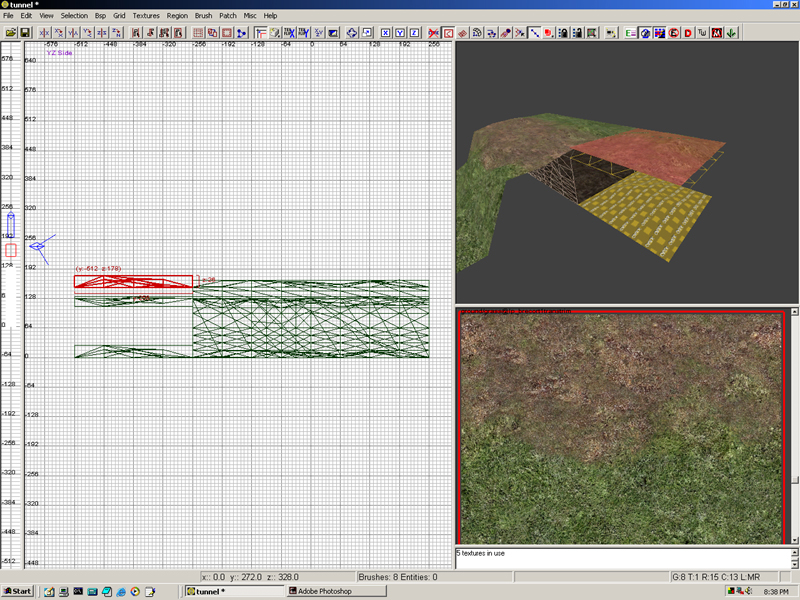
I have added some textures as well as aligned the vertices along the second wall. In the pic above, I have copied the floor terrain and moved it above the tunnel. This will be the actuall grass, dirt, or snow terrain that is visible from outside the tunnel.
I have also added a terrain outside the tunnel on the floor level.
Here I have raised the ground terrain to best match the ground terrain located above the tunnel. From here I have enable the vertex selection mode and will start welding the vertices of the two ground terrains together.
Here's what that looks like when done.
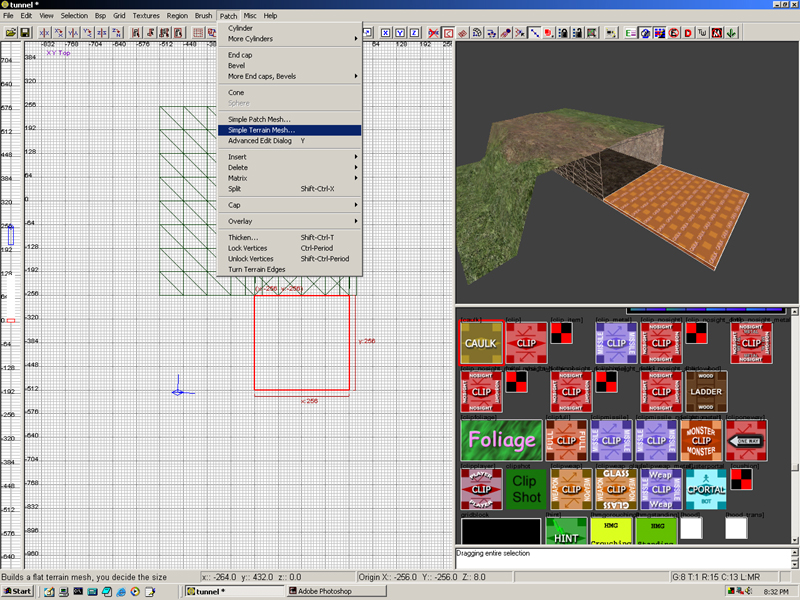
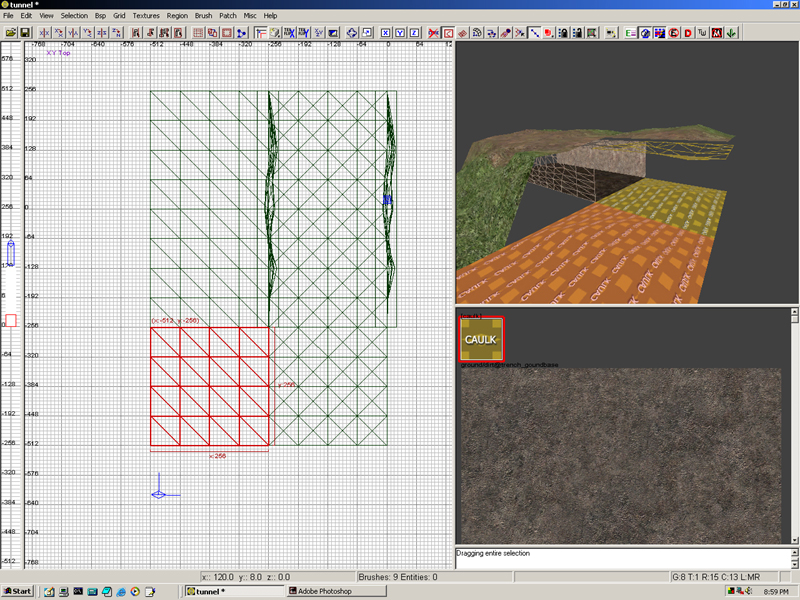
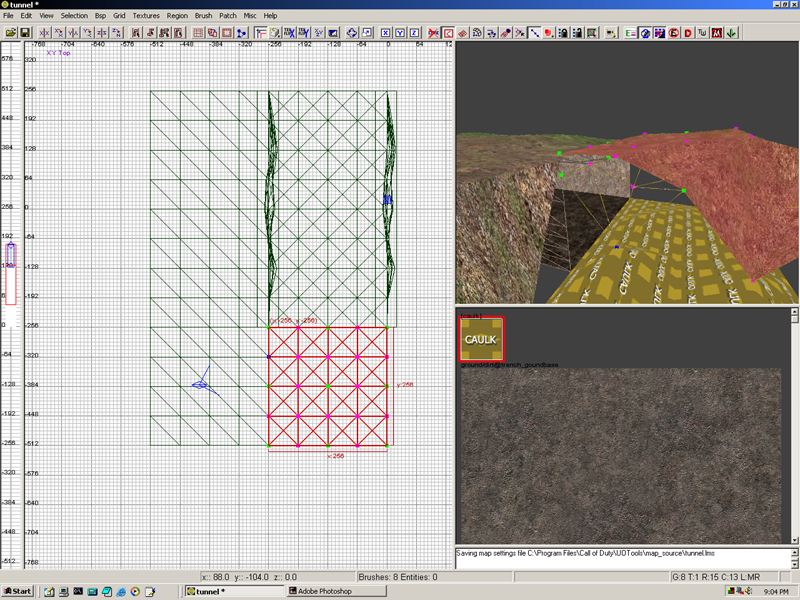
Now I have added another brush on the floor level and turned it into a terrain patch. This will be the floor area between two tunnel sections.
Again I am going to copy this mesh and place it above for the tunnels ceiling. I am also going to invert the faces so that it is properly visible from inside the tunnel.
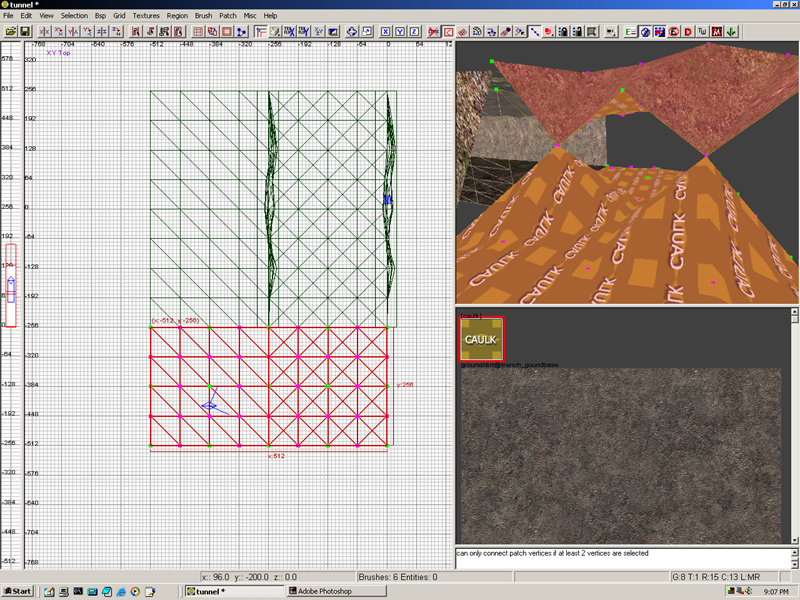
I have made yet another terrain mesh. Just like earlier, this will be places above the tunnel. it will be the visible ground above the tunnel.
This terrain patch will be the ground outside the tunnel leading in.

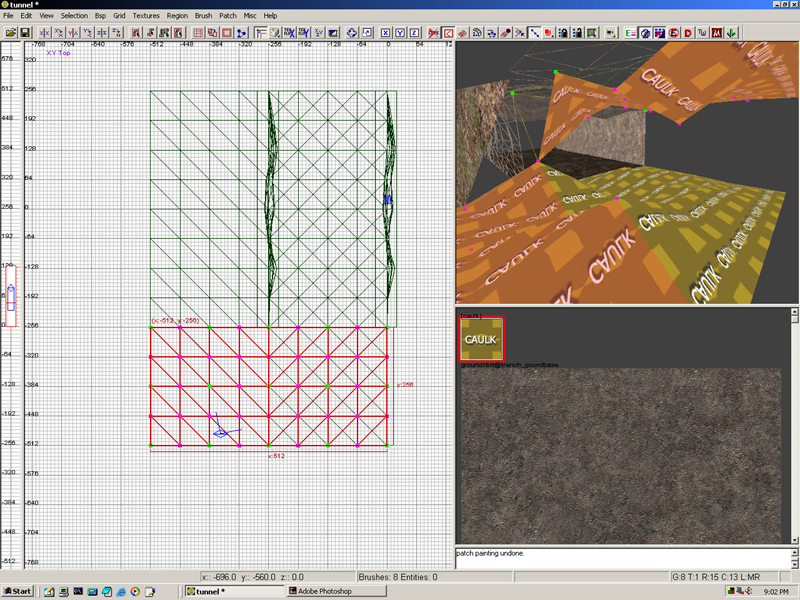
Here I have used the paint height tool to add some features to both the tunnel floor and ceiling.
Here you can see I've welded the tunnels roof to the floor. This is the beginning of our entrance.
Continuing, you can see I have done this to the other side of the entrance as well.
I have now selected the upper ground terrain above the tunnels entrance. I have enabled the vertex selection, and have welded the point to match around the tunnels entrance.
Complete the needed welding along the edge to look somthing like the picture above.

If you look at the two images above you'll see that I have welded the vertices from the tunnels opening to the surrounding terrain.
Here I have selected the vertice located on the floor terrains. There is actually more than one vertice selected here but they all reside on the same point. This is good. What I want to do is lock the X and Y so that when I move the vertices they will move only in the Z (Up/Down) direction.
I have moved the vertices UP in the Z direction to meet the terrain above. NOTE: When making more advanced tunnel openings, some of these steps will be altered or ingnored. But for now, let's continue.
Now I have copied the tunnel terrain and patches, as well as the outside terrains. I have moved them to the other side of the entrance.
Using the same methods as described above, match and weld your vertices to complete and even outter terain leading into the tunnel.
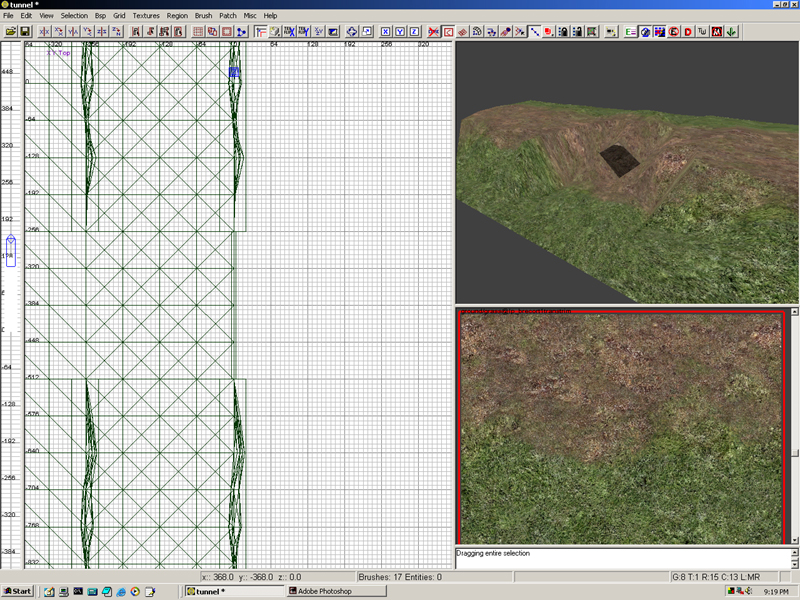
I have smoothed out some of the meshes and added a few plant models here and there. Basically it's done.
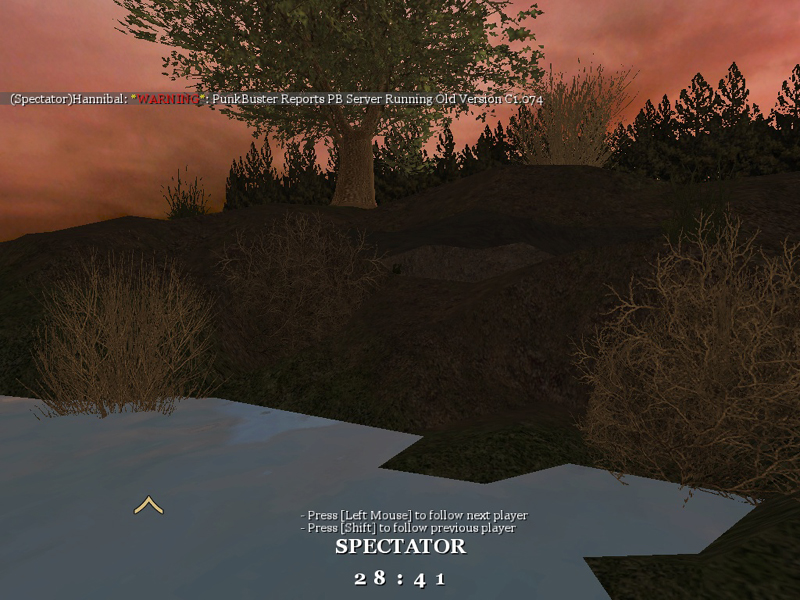
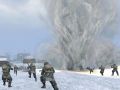
Here's what it looks like in the game.
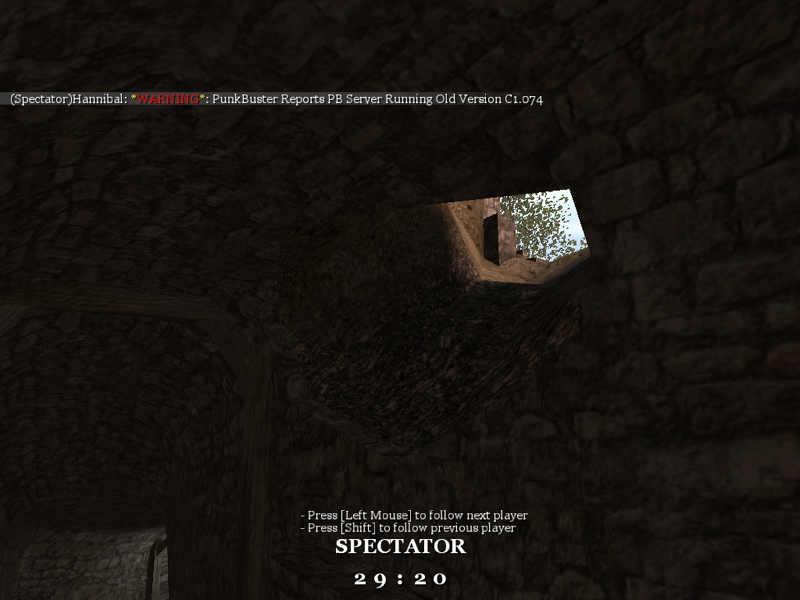
Now that is about as basic as you can get. Frankly, it doesn't look all that great but it's a start. Let's look at some screens from Stanjel to figure out how to make it look better.
You can see the pros have added some extra meshes around the lip of the entrance. This is a big step in making the entrance look nice and rounded...as if it were dug or blasted out.
I have pointed out these patches for reference. Like I said in the beginning, you can make this as fancy as you want.
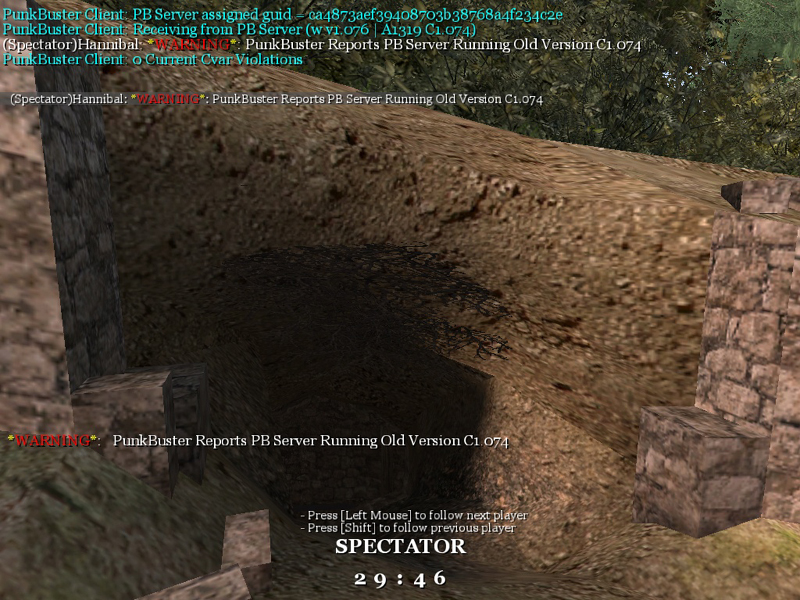
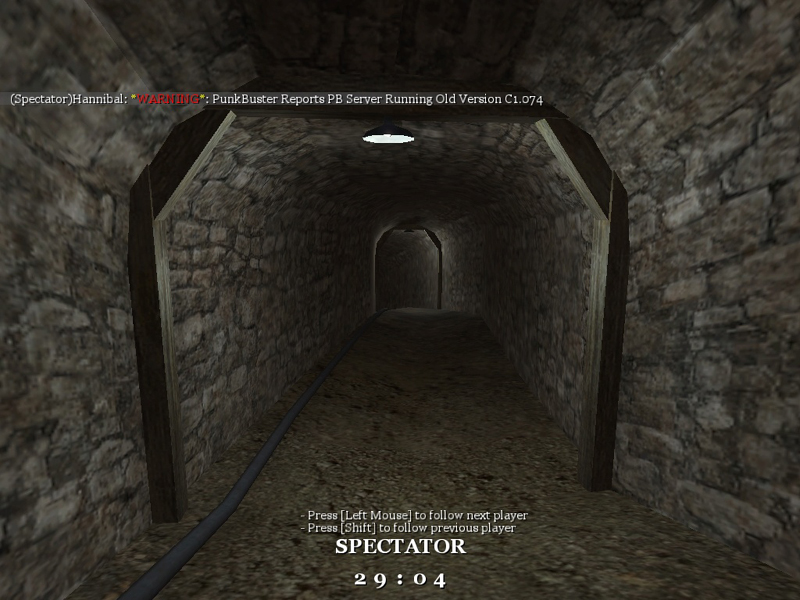
A pic from the inside looking out. One major difference in their tunnel is the patch walls were thickened to provide a "bricked" feel. Also notice they have skipped the terrain ceiling and have curved the patch brushes over instead. Again this has a nice feel. Allot better than just a square shaped hole dug through the ground.
Here's a nice example of that. Notice each tunnel section have been divided by some wooden beams.
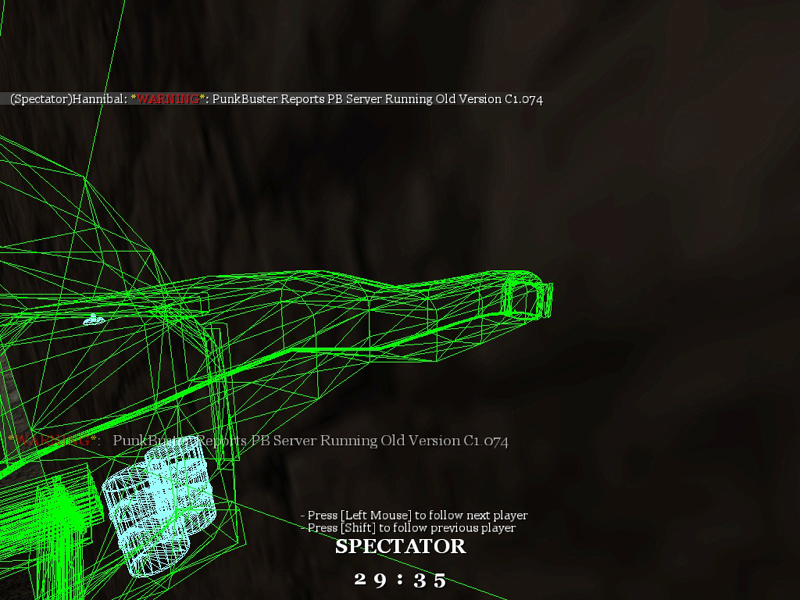
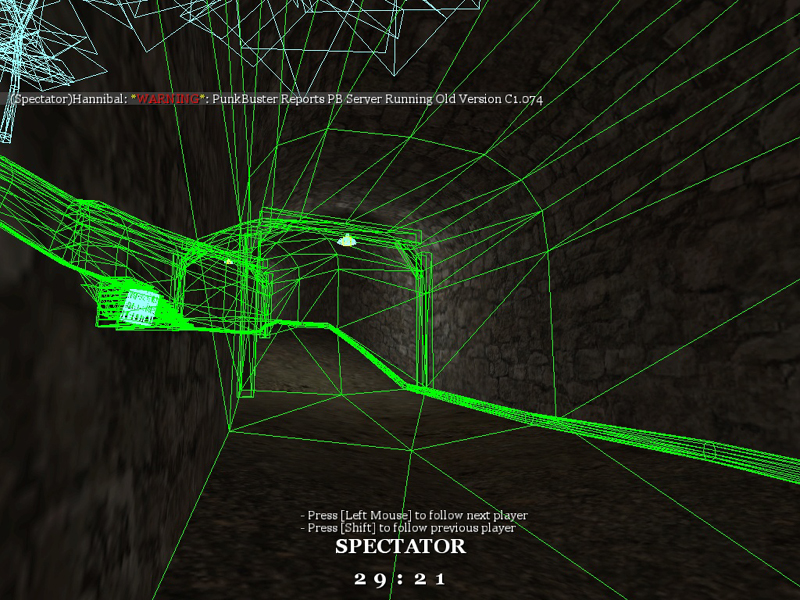
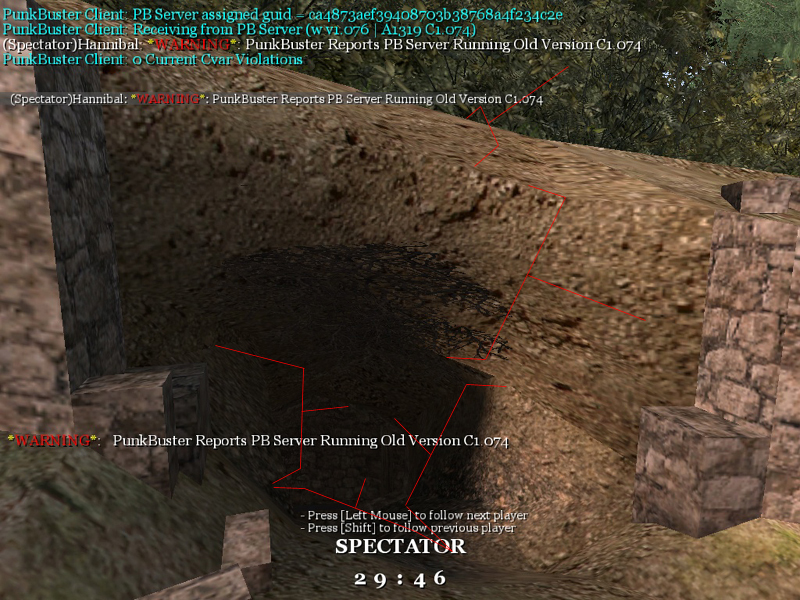
Using the command DEVMAP MP_UO_STANJEL you can open the map for developement. From here you can run R_SHOWTRIS 1. You can see that the wall patches don't need to be super complex. In fact the more complex you make the patches, the harder it will be for the game to render the enviroment.
Using these techniques should get you started. Once you have a basic tunnel and entrance setup, you can work out the details like adding a smooth, rounded entrance. For sake of time I have excluded that from here. Hopefully though this will get you going in the right direction.
I understand Wyatt is making a tutorial on this. He's much more experienced than I and is full of good ideas. I suggest that you look in the tutorials section for his tutorial.
Good luck,
Ryan